Dress Up Cheap Flowers To Make them Look Really Expensive

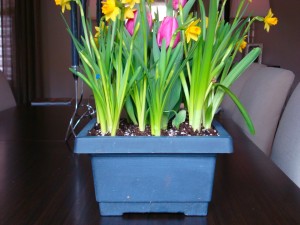
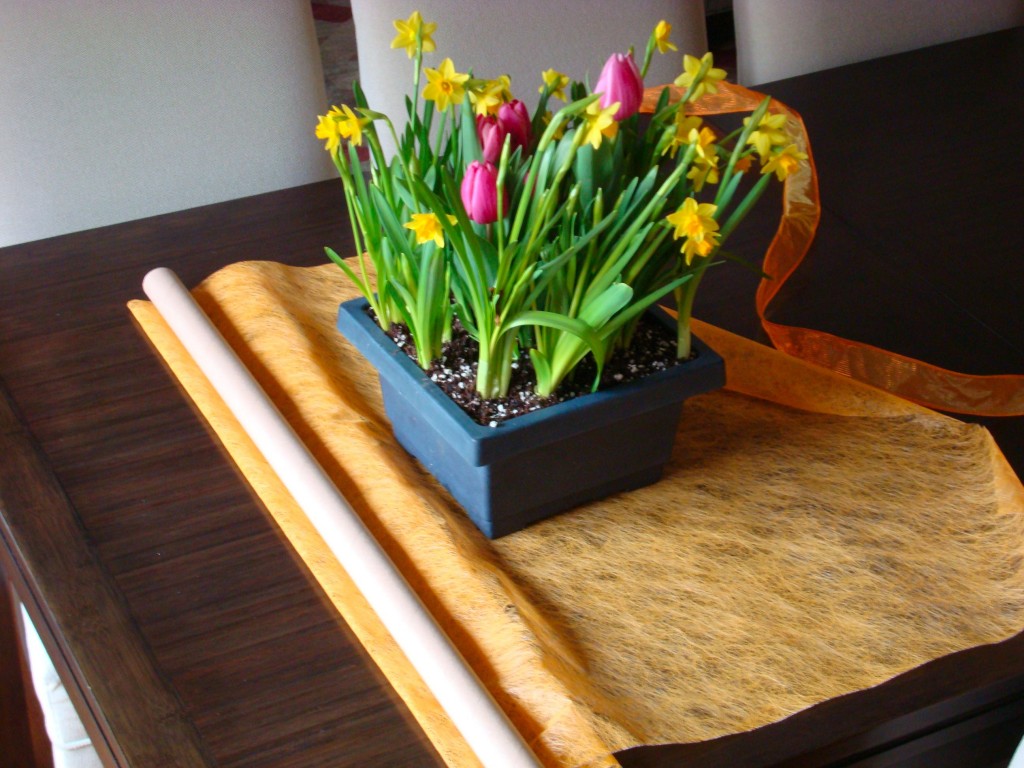
The picture at the right is of some beautiful potted flowers I bought at Costo for $10.99. They are beautiful just as they are, but if you want to give them as a gift, you’ve got to fix them up a little. The great thing about these bulb flowers is that they can plant them in the garden after they’ve wilted and they’ll come up next year. They’ll think of you every year when the flowers come up.
If giving flowers as a gift, they gotta have a little “WOW” in them. This is very easy to do and it will look like you bought it at an expensive florist.

Easier than you think…
1. Find some beautiful flowers that are in a container. They can be rooted or in a vase. I prefer rooted.
2. Make sure that the flowers aren’t dripping water — you can’t start this unless you’re assured that the container won’t wet your paper. Put them on a paper bag until they stop dripping
3. Find some beautiful paper. I love fiber wrapping paper — it’s easy to work with, if it gets wet it’s not ruined and it really looks impressive. Find this paper on-line: “fiber wrapping paper, discount” or in a specialty gift wrap shop. If it comes in sheets, it’s about .50 cents per sheet. A roll shouldn’t be over $10.00 Keep a stash of them at home and maybe get a lot so you have a “signature color.” Keep them “in stock” so you’ll be prepared if something pops up and you need a fab gift really quickly. For Mother’s Day, pick a paper that is your mother’s favorite color, could be cool too. You know your mom’s favorite color, don’t you?
4. Find a ribbon that goes with the paper. I personally like mono-chromatic themes, it’s classy. Orange paper with orange ribbon. Cool.
5. Place the flowers in the middle of a square piece of paper. You’ll need about 10 inches of paper above the top of the container, so make sure that your paper is large enough. If it’s a bigger pot, you’ll need two longer pieces that are laid over one another in the shape of a squared cross. If you can use one piece, all the better — so try to use containers that are smaller/shorter.
6. Cut a piece of ribbon that is about 24 inches longer than what will fit around the container. When cutting the ribbon, do not cut it straight across. Cut it at an angle, it looks better.

7. Gather the paper up around the sides of the container and put the ribbon around what you’ve gathered. It will probably be difficult to tie the ribbon around the container itself —as it tends to slip down. Instead, tie the ribbon above the container, up where the base of the flowers are and this will hide the dirt.
8. Cinch and tie the ribbon with a double knot around the paper, just above the rim of the container — not too tight but not too loose either — you don’t want the flowers to look strangled. Make sure that when you’ve tying the knot that the extra ribbon is about the same length from each end of the knot.
9. You’re almost there! Take another piece of ribbon, about 36 inches long and fold the ribbon on top of itself — pinch it in the middle with your fingers as you do each fold-over to keep it together. You should be looping the ribbon back onto itself into about 6 inch folds. The bow folds don’t have to be exact and there’s really no certain number of folds you need either.

10. While pinching the the folded ribbon in the middle, put it up to that double knot on the ribbon that is holding up the paper on the plant. Use the two ends of that ribbon to tie a knot around what you’re holding. Spread out the folds and you’ll see your ribbon materialize right before your eyes. Adjust it as you like—make it pretty! Tie a second knot and with the ribbon that’s left over, tie a bow (like you’re tying your shoes). Trim any excess ribbon off. It’s done! It takes about 10 minutes to do this. Don’t forget the card!
Let me know how it goes! You can do this. —d—

yay I love it!
Easy (sounding!) to do, and beats the limited selection of ‘decorated’
potted flowers they sell for mother’s day in the stores.
Could this be my new favorite website?!
that’s a solid YUP!
Thanks Corry! I appreciate your comments. This is REALLY easy to do. If you’ve got the right materials — use the ones I suggested — it makes anything look classy and expensive. Tell you friends about my site? Thanks Again. — dean —
I really wish there were more atirlecs like this on the web.
Taron, OK, OK…I’ve got several posts in the works so I’ll post them as soon as I’ve finished them. There are lots of ways to give classy gifts for not a lot of money and I’m gonna show you how to do. Thanks for visiting TGTGG. Dean